Image Map

Wednesday, June 19, 2013

Patriotic Pillows

I just finished these patriotic pillow covers yesterday. I was so excited to share them with you! They MAKE my couch! I love the 4th of July especially being in the Air Force. I have always had a special place in my heart for this patriotic holiday. I hope this gives you some ideas for your couch, bench or bedroom. 


The white and red airplane along with the "flag" pillow both are made with freezer paper stencil. SO FUN! Here are simple directions for the "flag" pillow.


On a piece of freezer paper trace the image you want to cut out. See the stars I got on the internet in the top right corner?


Round the edges of the stencil. (it sticks better when ironed)


Take an Exacto knife and cut out the stars over a piece of cardboard or a cutting board.


Iron the freezer paper stencil onto the pillow case. Be sure to get the corners REALLY good.


Line with foil inside so the fabric paint doesn't bleed through to the other side.


Paint the stencil evenly. If streaks are left with paint it will stay that way. Let dry and add another layer of paint. I painted 3 layers.


When completely dry peel the freezer paper off to reveal...


THIS! What a beauty!


Linking up here

Tuesday, June 18, 2013

Red, White and Blueberry Parfait

This red, white and blueberry parfait is the perfect breakfast for company. Darling and simple, that's what I'm all about! Take your favorite patriotic fruit and make a fun parfait to celebrate! Everyone will rave over these delicious freedom fruit cups!


Red, White and Blueberry Parfait

In a small sundae cup place in order:

6 blueberries
1-2 dollops of plain yogurt
1 strawberry -sliced
garnish with granola and serve with spoon


Linking up here

Saturday, June 15, 2013

Better Than Heaven Cake Singles

So sorry I haven't posted for the past week. I have been at a week long Girls camp for church. It is so fun and tiring! A LOT of planning and a lot of stress but it was well worth it! All of our girls worked so hard and helped so much! It was beautiful to see all these girls with out phones, without showers and all the normal necessities come together as sisters and friends feel the the love of Jesus Christ and Heavenly Father in their lives. They could read the scriptures in a beautiful place, hear the powerful words of leaders and have a fun in learning survival, team work, planning and service. We meet many other leaders and youth from around the state. I fell in LOVE with so many more amazing DARLING girls. I feel so blessed to know so many incredible people. I am so blessed to have such wonderful leaders with me and young women in my life.
Now on to the post...


My sister made these for our family. Talk about a fun small treat to make everyone feel special. They were SO fun and fabulous! Who doesn't love a sweet little treat to finish off a wonderful meal? It made them personal, and "gourmet." Simple, scrumptious, and the perfect sized treat. Take a look!


Better Than Heaven Cake Singles

1 Prepared Chocolate Cupcake
1/2 c. Caramel Syrup
1/2 c. Milk
Mint chips or chocolate chips
Cool Whip to Garnish

Take the prepared chocolate cupcake. Remove the paper liner. Cut the cupcake with a knife like a "T" so there are 4 "pieces" that fold out. Mix the caramel syrup and milk together. Drizzle over the cut cupcake. Add a dollop of cool whip. Garnish with Nuts, Mint Chips, or Chocolate Chips. Serve on a small dessert plate and savor every bite! Talk about DELISH!

To make a full sized 9x13 Almost Heaven Cake instead of singles, see the recipe here. 


Linking up here

Sunday, June 9, 2013

Scrap Material Star Teething Toy

How cute is this! SO… cute right? Well I made my first one, then I made another, and another. I have made 5 of these so far! They were SOOO easy, and they are the perfect “unisex” gift for any mother to be! These are one of a kind and a great gentle toy for baby to play and teethe with! Not to mention I didn't pay a dime to make them! That’s right this was all scrap material! I know you all have scraps here and there you never know what to do with. Make these in bulk and have a quick toy to grab for any baby shower! Oh did I mention they were machine washable? Talk about a relief for those first time “germ-a-fobe” mothers. Don’t hate them, I was one once myself. I washed all my kid’s toys ALL the time! Oh wait – I still do! Ha ha. Have a look – simple step by step instructions below.


Trace a cereal bowl or mixing bowl onto your fabric. Double the fabric. Cut 2 circles from the fabric for your middle piece.


From a scratch sheet of paper make a “pointed” oval shape and cut off the bottom. Trace that onto the fabric you want to make the “star” points with. I chose different colors and textures so it can also be a “sensory” toy.


Fold your “star points” in half – right side in – and sew along the side. When all 6 “points” are done, turn them right side out and tie a knot at the end. (Teething babies LOVE knots.)


Take one circle and sew all of the “points” to the edge. Like so.


Next take the 2nd circle and place it on top. Sew the two together, be sure to keep a small opening to turn it right side out.


When done and turned right side out, cut a piece of quilt batting to fit inside. I cut a small circle of different fabric and sewed it to the middle. This makes the batting stay in place and give it a little “poof.” 


When batting is in place, sew all around the edge making sure the "opening" is secure. 


BRAVO! WE DID IT! I know this will make someone’s day, and knowing that no one else in the world has this EXACT same toy is AWESOME!


Linking up here

Friday, June 7, 2013

Turkey Bacon Ranch Lunch Wrap

I love when good lunches come together easily and quickly. This was definitely an easy lunch to throw together. Plus it has all of my favorite things wrapped up in a single tortilla. Take it on the go or eat at home. This is sure to please even the pickiest eaters. Make something simple today for lunch, you won't be disappointed with this!


Turkey Bacon Ranch Lunch Wrap

2 slices pre cooked bacon - placed in the microwave for 18-20 seconds
2 slices of turkey lunchmeat
1 slice of tomato
1 Romaine Lettuce Leaf
A spread of Mayonnaise
A Spread of Ranch Dressing

Wrap up to go, or eat at home! Perfect to make any meal light. 


Linking up here


Wednesday, June 5, 2013

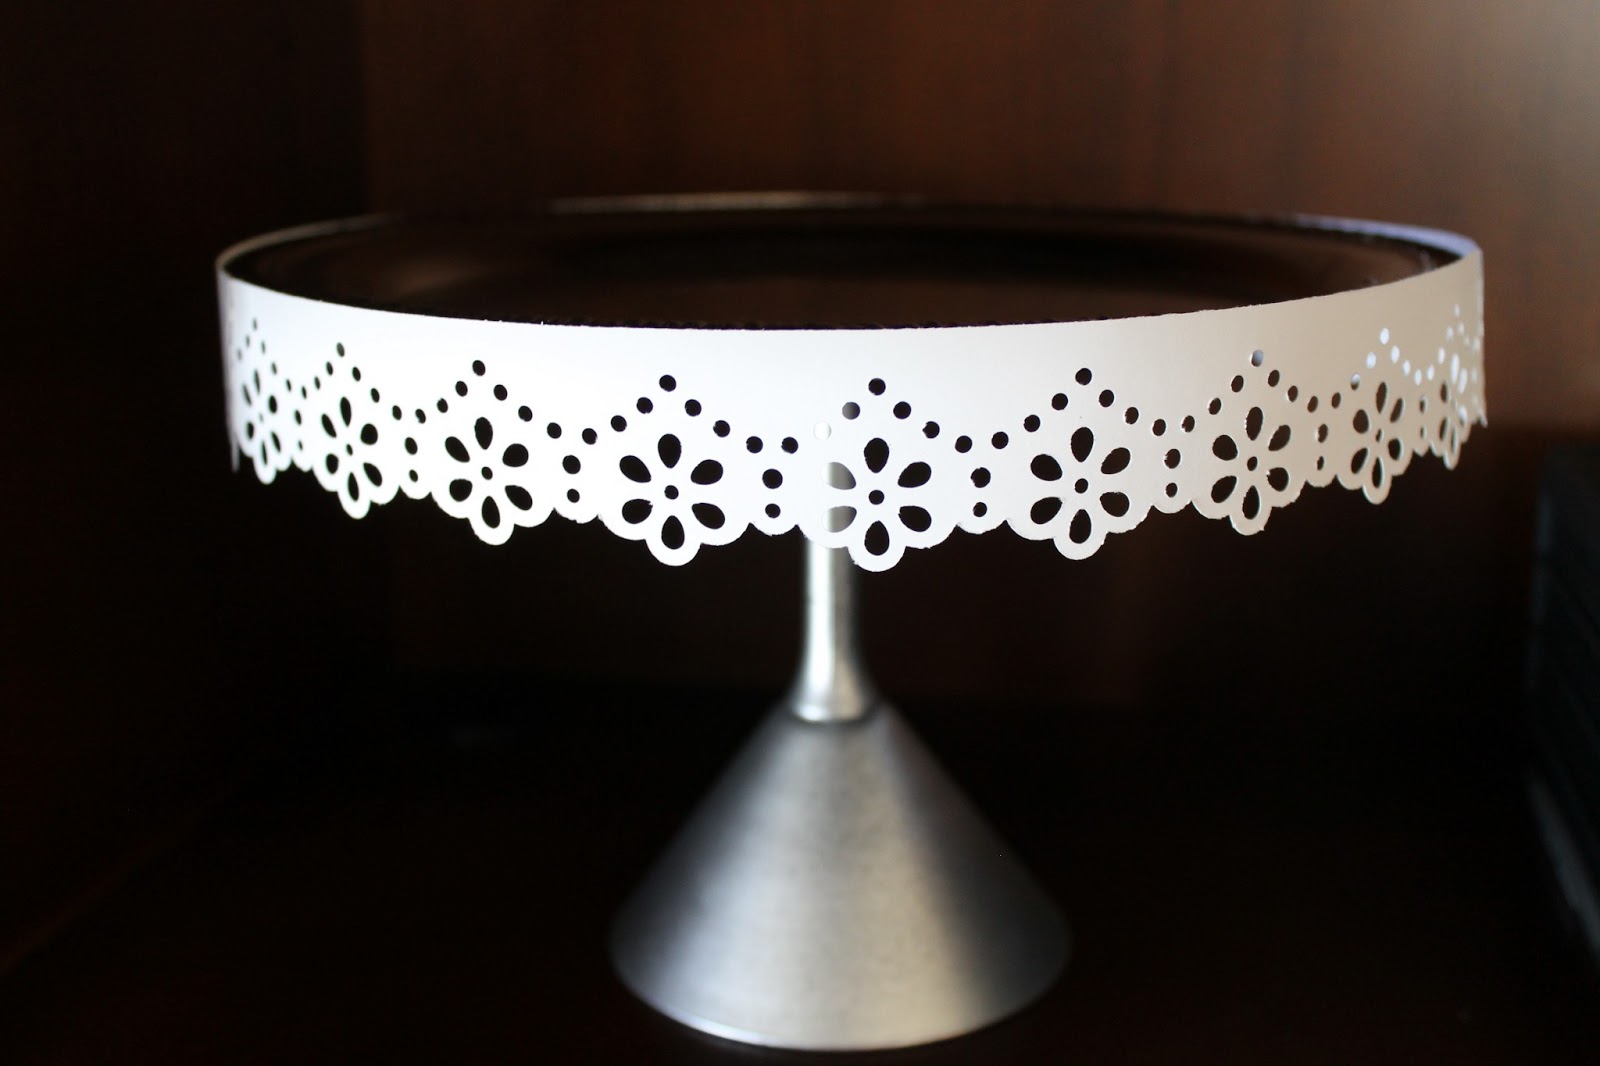
"Lace Up" Your Cake Stand

Take that cake stand you have for special occasions and "Lace it Up." So simple and sweet. I used these in a baby shower I threw for my dear friend Sarah over at High Heels and Grills. She is having a Baby Girl! HOW EXCITING! These held the cupcakes I made. I had a few compliments on how simple and darling they were! I was so pleased! They made the ordinary cake stands into something dainty and darling for a baby shower.


Punch out strips of card stock paper in lace designs. 
(I bought this punch at Joann's for $10 with a 50% off coupon)

Take glue dots and attach them onto the paper, then onto the cake stand ridge.


Make a simple bow by making 3-5 LONG loops, take a small wire and place it in the middle of the loops, twist tight. Take a small piece of ribbon and tie it around the wire center to finish.
Glue Dot it in the center of your cake stand. You can place it on a seam of the lace paper to hide it.


Linking up here

Monday, June 3, 2013

Taco Pizza Pie

Talk about a HIT! My husband isn't the biggest fan of pizza - weird I know - so I wanted to try something that he could possibly enjoy. We all LOVE tacos, so why not taco pizza?! I grew up with taco pizza at a small pizza place in my home town, it was always WONDERFUL but VERY pricey. I had heard of cornbread crust but I was in a hurry and didn't have enough time to go get cornmeal from the store. All I had was a .50 cent jiffy corn bread mix. WHY NOT I thought?! IT TURNED OUT AMAZINGLY! A sweet corn bread crust with a salty top! It made every taste bud in your mouth go wild! Take a look! I can see the wheels turning in your mind - You're gonna make this soon, VERY soon! 


Taco Pizza Pie:

Crust:
1 Jiffy box corn bread muffin mix
- Heaping 1/2 c.   flour
1 T. Olive Oil
1/2 c. Water

Mix all ingredients together. Grease a circle pizza pan or an 8x10 cake pan. Place the dough on the greased pan. Spread and flatten with your fingers. Bake at 400 for 12 min. When done, build your pizza!

1 can refried beans (sauce)
about 1 lb. taco meat - browned hamburger with taco seasioning
Shredded Cheddar Cheese
Bake in the oven for about 5 min again at 400 to heat up the refried beans and to melt the cheese.


When done add your favorite taco filling:
Lettuce
Tomatoes
more Cheese
Sour Cream
Salsa


Cut and serve immediately so the lettuce doesn't wilt. DELISH! Enjoy!


Linking up here