Image Map

Wednesday, July 30, 2014

Play by the Penny

"Playing by the Penny" is a good description for our toy room. It keeps us on our toes and making "new" out of old. Our kids appreciate their toys more when they see they can play new games with their old toys.

Lately my little girl June has been wanting to play "grocery store" ALL DAY LONG. She's been using her baby stroller for her groceries/play food, and they always fall out. Instead of buying a play grocery cart, I decided to transform her stroller into a grocery cart. Simply by attaching a laundry basket with string to the bars of  the stroller, you have a grocery cart! We went to the dollar store a few days ago and I spotted a BIG calculator, June always wants me to be the "tashier" (cashier) but we don't have anything that resembles a cash register. I thought a $1 calculator would be worth every penny for how much we would use it. 
Making new games out of old things has been so fun! It keeps me thinking of what our next to "no cost" adventure will be!


Simply take a play baby stroller- or an umbrella stroller and attach a small laundry basket onto the bars of the stroller with string! Take the string and basket off when you want it to be a stroller again! 2 toys in one!

We have an assembly line. On the far side of the desk you place your food to be purchased. The cashier "beeps" the food through and places it in another basket on the floor. 
Perfect home grocery store.


Linking up here

Monday, July 28, 2014

School Lunch Napkin Notes

School is beginning soon! Can you believe it? Where has this summer gone? I was looking through an old magazine and saw a coupon, valid until May. I literally took out my phone to see what day it was because I thought I still had time to use it! That's how behind I am! Ha ha. Well now, I am getting back on track and am floored it's almost AUGUST! AHH!
I've been thinking about back to school ideas and remembered something cute my sister's family do with all of their girls' school lunches. They make school lunch napkin notes. While they're preparing their lunch in the morning my sister, brother-in-law, or one of their daughters will write a little note on a napkin. My niece Carly has kept ALL of her napkin notes. I guess she never needed to use her napkin! Ha ha. 
I asked all 5 of my nieces to share with me some of their favorites. They're listed below.
You never know the impact a sweet small note will have, even if it is in a lunch.


My niece Carly sent this picture to me. Her youngest sister wrote this napkin note for her on a game day. Their High School mascot is Warriors. SO CUTE! 
(Go Lady Warriors)

This pretty much became a tribute to my sister Candace. She is TRULY an AMAZING mom and lets her daughters know of her love for them. I hope and pray I can be half the incredible mom she is to her daughters. 

Each of my nieces said they couldn't really describe what her napkins said because my sister would draw little pictures in her phrases. Like, "You Rock," instead of writing "rock" she would draw a rock. So when you see a word in (  ) it means she drew a small picture in place of that word.


Morgan -Have a good day - I (love) you
I packed your favorite treat! Love you

Carly - You (rock)
Have a super-cala-fragalistic-expialadoshus day
(my brother-in-law wrote this one, he's awesome)

Mackenzie- Have a (sun) shiny day
Thinking about you!

Caitlin- You are a Q-T (pie)
I (love) you!

Maren- You are my (sunshine)
You are my love (bug)
You are my (song) (music notes)


Linking up here

Saturday, July 26, 2014

Lady Bug Place Mat Purse

My awesome mother-in-law gave this idea to me. She brought us a place mat purse she made in church for children who needed scripture bags. I thought it was a genius idea and SO CUTE for a play purse. I took that idea and made a new one. We love lady bugs, so what better place mat purse to make than a lady bug purse? Very "summer-y" and bright! Your daughter, niece or granddaughter needs one, you know it!


Step 1:
Supplies: 1 solid red place mat (found at the dollar store)
black fabric, drinking glass (the size of desired dots),
pen or pencil, scissors & sewing machine

Step 2:
Trace the drinking glass onto the black fabric with your pen or pencil and cut out.
I used 6 dots for the whole bag, 3 on each side

Step 3: 
Pin down the dots onto the red place mat and zig-zag sew around.

Step 4:
Make an UP fold on the good side of the bag.

Step 5:
Take one side and fold it over, kissing the good sides together. Make sure that first fold from step 4 is still in there. Pin the sides together and sew up the sides.

(Pull the bag right side out)

Step 6:
Cut 2 pieces of ribbon the same size. Fold over the raw edge and place on the inside lip of the bag. Sew the edges down and you're DONE!


Linking up here

Thursday, July 24, 2014

Asian Chicken Ramen

Try a new spin on your classic Ramen Noodles. I lived off of these in high school, I'm sure many of you have the same story. It was lunchtime one day and my kids as usual wanted noodles for lunch. I had an idea to change them up a bit and make them different. Add chicken, veggies and sauce. It turned out awesome! Fast and fabulous!


Asian Chicken Ramen

4 packages of Ramen Noodles
1-2 chicken breasts - cubed
3 carrots, peeled and sliced
1 celery stalk- rinsed and sliced
1 handful of spinach - rinsed

In a large skillet saute chicken, carrots, and celery in 2 T. Olive Oil. Dash with Salt and Garlic Powder. In another pan, bring to boil 6-8 c. water. Place packaged noodles into the water and cook until they've reached your desired consistency. (discard flavor packets) When noodles are done drain and place in the chicken veggie skillet. Turn heat off and add 2 T. Soy Sauce and 2 T. Terriyaki Sauce. Fold in spinach to finish. Yum!


Linking up here

Tuesday, July 22, 2014

Marinated Garlic Chicken Salad

Grilling season in never over in my book. Especially when you find a new favorite recipe like this one. We are marinating fanatics! We LOVE to marinate just about anything, but our most favorite is marinating chicken. We love the flavor it brings to different meals. Mmm... I'm getting hungry. I'm making this for 
lunch. You should too. 


Garlic Chicken Marinade

3 Minced Garlic Cloves
3/4 c. White Vinegar
2 T. Lemon Juice
1 1/2 tsp. Lemon Pepper
1 tsp. Rosemary
1 tsp. Thyme
1/2 tsp. Salt 

Combine all ingredients in a large ziploc bag. Trim 3 chicken breasts of any excess fat. Fillet breasts in half. Place filleted breasts in the ziploc bag and shake. Place the marinating chicken in the fridge for at least an hour. Grill to desired temperature. When done, cut the chicken into strips and place on a bed of spinach and romaine. Top with tomatoes, olives, and Caesar Salad Dressing. 


Check out another one of our favorites!


Linking up here

Saturday, July 19, 2014

My Princess Puppets

My little June and I were going through the store one day and she said, "Mom I want to have princess puppets." We recently got into our animal finger puppet shows pretty seriously. I thought for a second... I couldn't make felt finger puppet princesses, so what should I do? Well, just then June pointed across the way to some princess stickers! PERFECT! I know just what to do with those! 
craftprojectideas.com has sent us packages of their products. They were given to us for free to craft with! June and I sure love our craft days! This is what we made with a couple of the products they sent us!


Here are the steps

1. Grab your Acrylic Paint, Triangle Paint Brushes, Jumbo Craft Sticks, Princess Stickers, Scrapbook paper and a paper plate for a painting surface

2. Have your child paint the craft sticks the color of the princess's dress or hair

3. Stick the stickers onto scrapbook paper- (the same color as the sticks)

4. Cut the princess stickers out leaving a small colored border around them

5. Hot Glue the scrapbook paper stickers onto the sticks!


Play with the princess stick puppets over the couch, the table, the counter, where ever their castle resides!


Linking up here

Wednesday, July 16, 2014

Theme Your Book Days

Do you read books to your kids everyday? Well, you're not alone. My kids LOVE reading books, and I love reading to them! I love that they love learning! We go to our local library every week for story time. My kids EAT IT UP! I got an idea from them one day. They always have a different theme for their story time, so I asked myself, "why can't I?"

First of all, I would like to thank my 5 nieces who kept their books in such nice shape to hand them down to us. I am thankful for my mom who kept all of my favorite books growing up in a box to save for me to use now. I am thankful for those who have given us books brand new. Books are expensive, so every time someone gives us a new book, we are ecstatic! 

I grabbed our mountain of books and together my daughter and I sorted them into themes. She was so excited! I took a few pictures for you, then placed them into a clear bin so I could grab out a "theme" a day. It has been a BLAST teaching my kids through stories. 


Here are our themes for the day
(Yours are probably different due to the fact that EVERYONE has different books)

Farm
Colors
Weather
Babies
Bath Time/Bubbles
Counting Books
Food
Dr. Seuss 
Dinosaurs
Books about the Moon
Bed Time
Circus
Alphabet Books
Zoo/Animals
Fish/Ocean
World/Different Cultures


I hope this inspires you to have fun themed reading days with your kids!


Linking up here

Monday, July 14, 2014

Crock Pot Taco Filling

This is delish. This is easy. This is AWESOME! This is the meal you make for everyone. Have it the way you want. Use it to fill tacos, in your taco salad, over chips for nachos, the list goes on and on. Put this together in the morning and have it for lunch and dinner, use the filling 2 different ways for each meal. GENIUS! 


Crock Pot Taco Filling

1 lb. (mostly) browned hamburger or ground turkey
1 can Black Beans - drained and rinsed
1 can diced tomatoes
2 T. Taco Seasoning
1 Tsp. Salt
1 c. Chunky Salsa
*optional (drained and rinsed kidney beans or a drained can of corn)

Place the mostly browned meat into a greased crock pot. Place the black beans and diced tomatoes into the crock pot. Sprinkle the taco seasoning, salt and salsa over all. Give a little stir. Cover and cook on High for 3 hours or Low for 5. 

Add grilled corn on top if desired.


Linking up here

Friday, July 11, 2014

Beads and Bracelets - Play Jewelry

What little girl doesn't love her play jewelry? Well, thanks to CraftProjectIdeas.com it has made it easy for my 3 year old to make her own! That's right ladies and gentlemen, my little 3 year old makes her own play jewelry. We were given a box of craft supplies from craftprojectideas.com for free to craft with! My little June was ECSTATIC! These were HER kind of crafting supplies! She saw the beads and asked if she could make a necklace and a bracelet. I saw the elastic cord and said YES! We simply tape down one end of the elastic cord to the table and she strings the rest. Mom ties the knot and its finished! Just a hint for moms and dads with girls if you don't already know this, 
Little Girl + Jewelry (she made herself) = HAPPY!
These are AWESOME!


Cut the desired amount of Sparkle Elastic Cord 

Tape one end down to the table or counter

Pour some beads into a small bowl

Let your child string the beads as they please

Tie a knot
&
Wear with PRIDE!


Linking up here

Wednesday, July 9, 2014

Homemade Mild Salsa

I am a girl who loves her homemade salsa. But it didn't start out that way.
 I'd never had homemade salsa until I was dating my husband, who's mom made it daily. I didn't know why everyone practically drank this stuff straight from the jar! 
It was almost like, "would you like a little chip with your salsa?" 
Well one day, she had just made a fresh batch when everyone had dispersed and I was left with her for a few minutes. She said, "Do you want to try some?" 
I grabbed a chip and took my first dip into what was my new found obsession, 
homemade salsa. And now I'm drinking it by the jar.


Homemade Mild Salsa

5 medium ripe tomatoes
1/3 bunch of cilantro
1/2 small onion
1/3 c. white vinegar
1 garlic clove minced
1 lime - cut in half and juiced
1-2 tsp. salt

Place all in a blender, food processor or bullet/ninja and blend until desired consistency.

* If you want to add a little "kick" add a "seeded" jalapeno


http://www.cookandcraftmecrazy.blogspot.com/2013/08/healthy-homemade-tortilla-chips.html


Linking up here

Monday, July 7, 2014

Lemon Lime Creamsicle Jello

"Refreshing," "light," and "wonderful." Those are all the words my family used to describe this dessert. I was so excited to have my sister and her family drop by for a little barbecue. It was so fun to see them and make them yummy food. This jello was the bell of the ball. To end the lovely lunch I made this Lemon Lime Creamsicle Jello. What a way to cleanse the pallet and satisfy your sweet tooth.


Lemon Lime Creamsicle Jello

3 1/2 c. Boiling Water
1 Large Pkg. Lime Jello (or 2 small pkgs.)
1 Large Pkg. Lemon Cook and Serve Pudding and Pie filling

Sprinkle the Lime Jello in the bottom of a 9x13 pan. Pour the  3 1/2 c. Boiling water to the pan and dissolve completely. 
Cook your Lemon Pie Filling according to pkg. directions. Pour into the jello and water mixture and mix thoroughly with a whisk. 
Let set in the fridge uncovered until it cools, then cover with plastic wrap. When set and ready to eat, you can frost the whole jello with cool whip or just dollop certain pieces, its up to you.

*Great to make a day before guests arrive, then you can just pull it out when ready to eat.


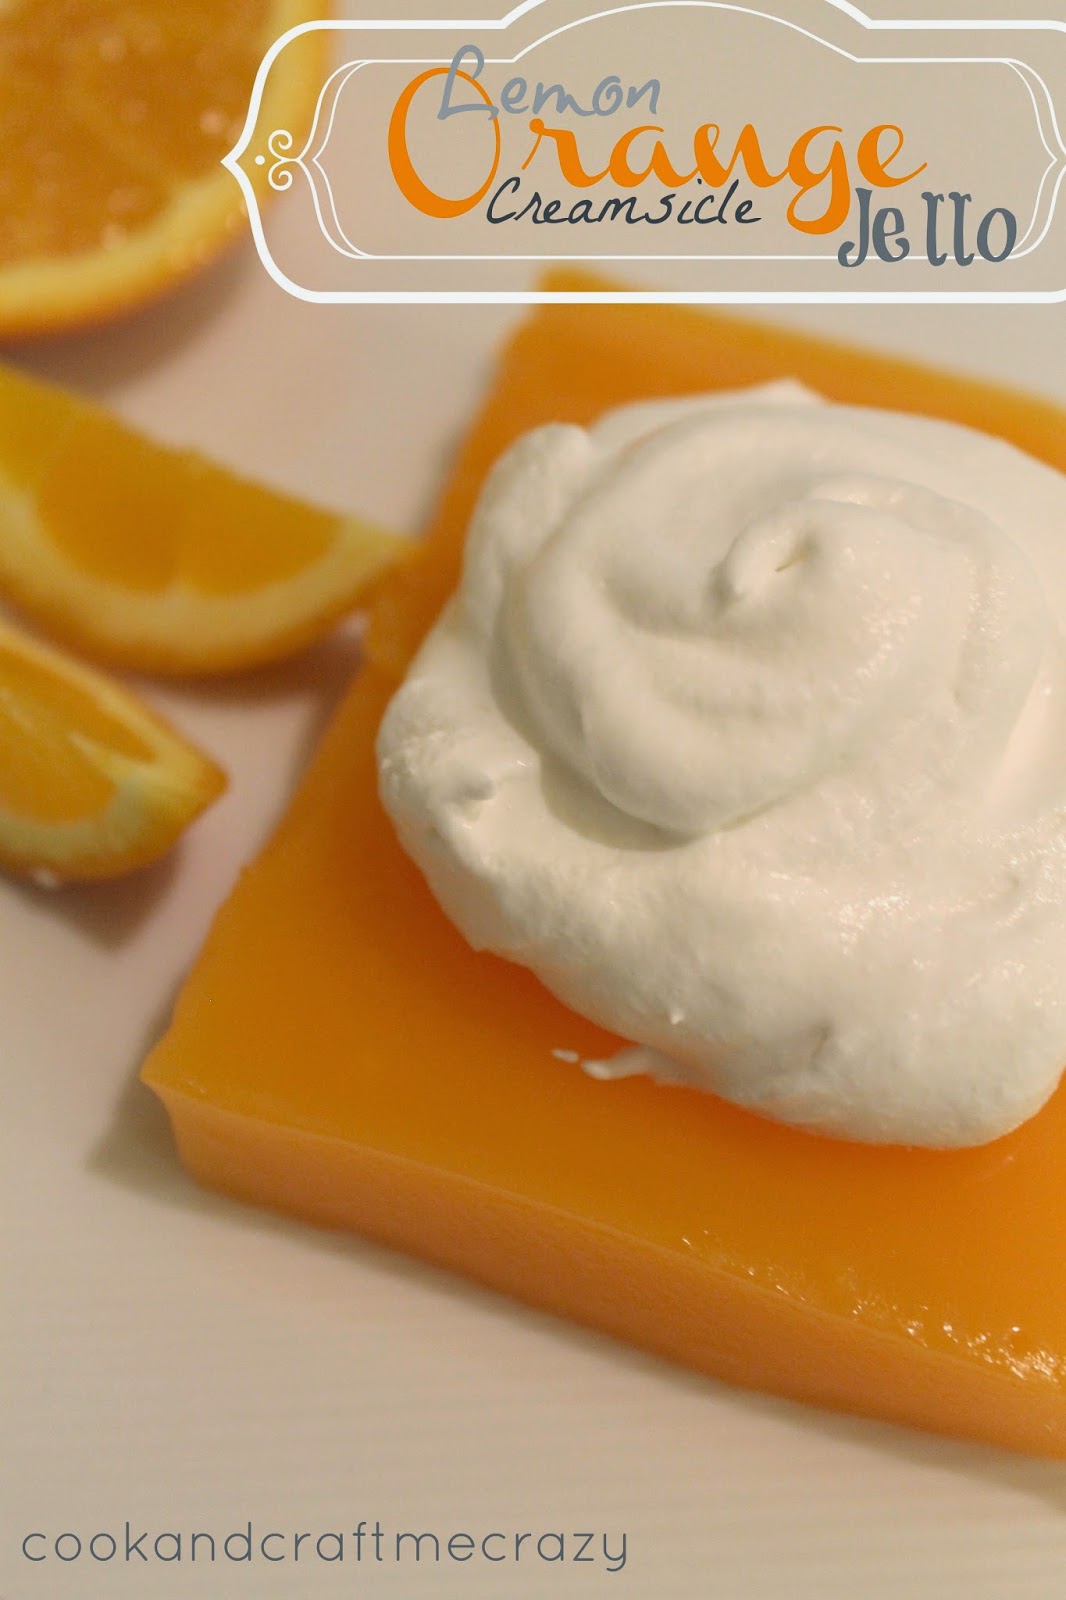
http://cookandcraftmecrazy.blogspot.com/2013/03/lemon-orange-creamsicle-jello.html


Linking up here

Wednesday, July 2, 2014

Balsamic Beef & Broccoli

Balsamic Beef & Broccoli, talk about delicious! There are 2 awesome traits about this meal. One, it's made in the crock pot so everything melts in your mouth. And 2, it doesn't heat up your house and its truly scrumptious! This is salty, sweet and savory. Talk about an awesome meal! Check it out!


Balsamic Beef & Broccoli

1-2 lbs. Beef Stew Meat (Browned in a pan with salt and a dash of apple cider vinegar)
1 medium onion- cut into 4 quarters
2 minced garlic cloves
2 c. Frozen Broccoli
1/4 c. Balsamic Vinegar
1/4 c. Water

Place browned beef and all other ingredients in a greased crock pot. Cook on low for 7-8 hours.

Serve over brown rice and drizzle with more Balsamic Vinegar.

YUM!


Linking up here