

Anyone else think pillows make a bed, or a couch? Well I sure do! I love to make pillows that POP out on a bed or on my couch. I have resorted to making pillow covers for the pillows I have on my couch for every season, due to lack of storage space. I recently made this turquoise blue and white bloom pillow to cover a small pillow on my couch. It adds a dramatic pop of color and goes very nicely with my brown leather couch. I love the sea green and blues for January in the "colder" months.


To start a pillow cover, I always use one long piece of fabric. I measure out my seam allowance and the length by using the pillow I want to cover.
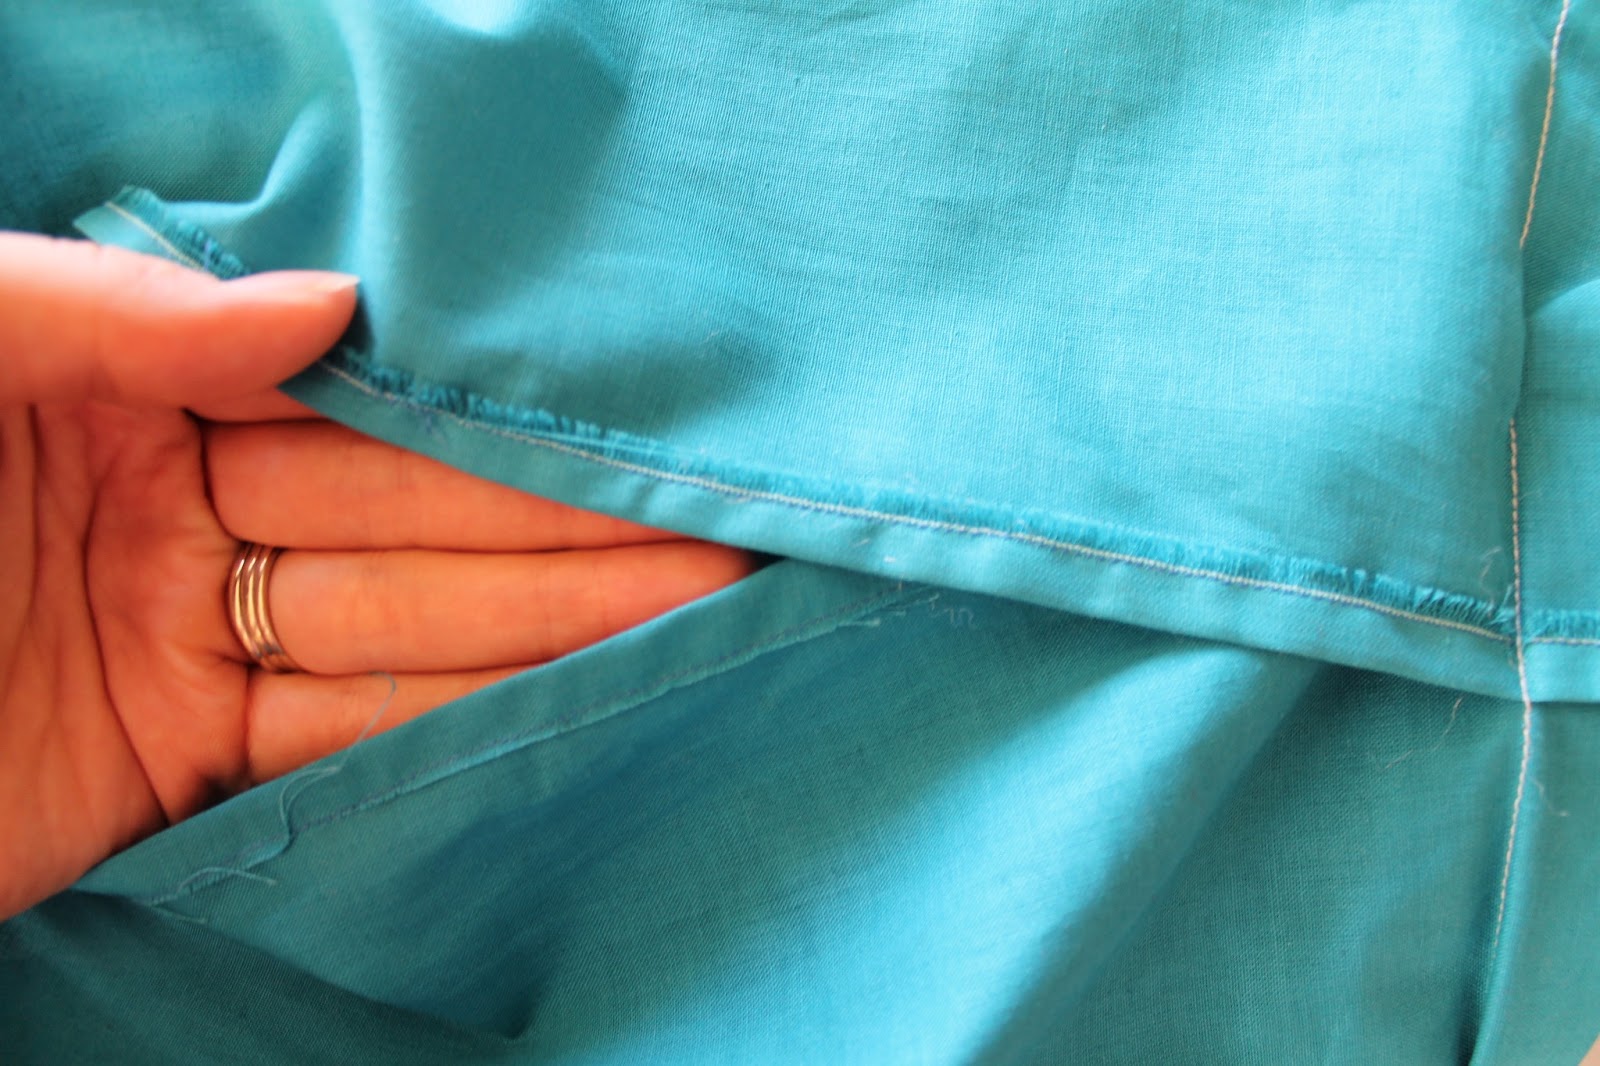
(this picture shows the cover folded into "uneven thirds")

Unfold, and hem back both raw edges
Fold the material good sides together to make a pouch, the material should overlap on the back side so you don't see the pillow when stuffed.

Pin along both sides and sew the "pouch" together.

Turn it right side out

And your pillow cover is ready to be STUFFED!

You can add embellishments on your pillow cover before or after you have it made. I put the bloom on after. I had to make sure it was in the right position on the front of the pillow.
To make a bloom for a pillow cover, follow the next few steps.
Start out by cutting a circle the size of the bloom you want to make.

Cut your strips of fabric into 4 " wide. (The longer the better) I cut 5 strips about 18" long. Fold the strips in half and start to sew.


When you have reached the end of your strip, tuck the raw edge inside

And grab your next strip of fabric and put it inside the first to keep from raw edges showing or fraying

Put it folded in half, and continue to sew your long "tube" of fabric.

When you think you have your "tube" long enough, practice on your circle you previously cut out to see if you made it long enough.

As you can see I did NOT, and I went back and cut another 2 strips and added them to my "tube."

When you start to sew, begin by folding your raw edge under and start your stitch about 1/2'' into the circle.(you want an edge under the bloom to attach to your pillow when done.)

When you are turning or just want to add more dimension to the bloom fold and "pucker" the "tube".

Once you have gone around your circle, be sure you cover the seams with the fabric tube each time you go around. You don't want to see all the work, you just want to see the bloom!


After you have gone around and around in circles you are almost to the end and want to finish the flower. Stop sewing and put your needle down in the fabric to prevent losing your place in the stitch.

You should have excess "tubing." Cut your "tube" about 6-8" out. (Cut more than you think. You can always cut more later, but you can never add more fabric)

Fold in the fabric in half ONCE....

Fold it in TWICE...

Pinch it down to where it covers the seams, and sew it down.

BRAVO! You have just made your first BLOOM! Congratulations! I hope it turned out! It took me a few tries to be proficient at making these! Practice, practice!

The 1/2'' border around the bloom can be used to sew it down to your pillow fabric.

Linking up here
Absolutely adorable! Love the flower!!!Thanks so much for sharing the great tutorial! Would love to have you visit me sometime.
ReplyDeleteHave a fabulous day!
Hugs from Portugal,
Ana Love Craft
www.lovecraft2012.blogspot.com
Very pretty!
ReplyDeleteThanks for the tutorial.