

It all started when I made a bolero a year or so ago for my little girl for her Christmas dress. Someone gave us this not very cute pink and black velvet dress that I knew I would never let her wear. Little children's boleros can be expensive especially if they're only going to wear it 1-2 times. So, I looked at this dress and cut the top velvet half off, cut it down the middle in the front and made a bolero. It looked perfect with the dress I had purchased and it only took me 20 min to make. This is how it all came to be. From t-shirt to bolero/jacket.

(Isn't my model darling?)

This is a T-Shirt I got on the $2-3 rack at Wal-Mart. She has worn it one time and it shrunk up and became a belly shirt, so what better to use it for than to turn it into a bolero?!
Take the shirt, lay it flat and cut to your desired length. Don't forget to leave a little extra fabric to sew up for your hem.

Next fold it in half, down the front of the shirt, one sleeve facing down, and one sleeve facing up. This is to make sure both front sides of the bolero match up perfectly.

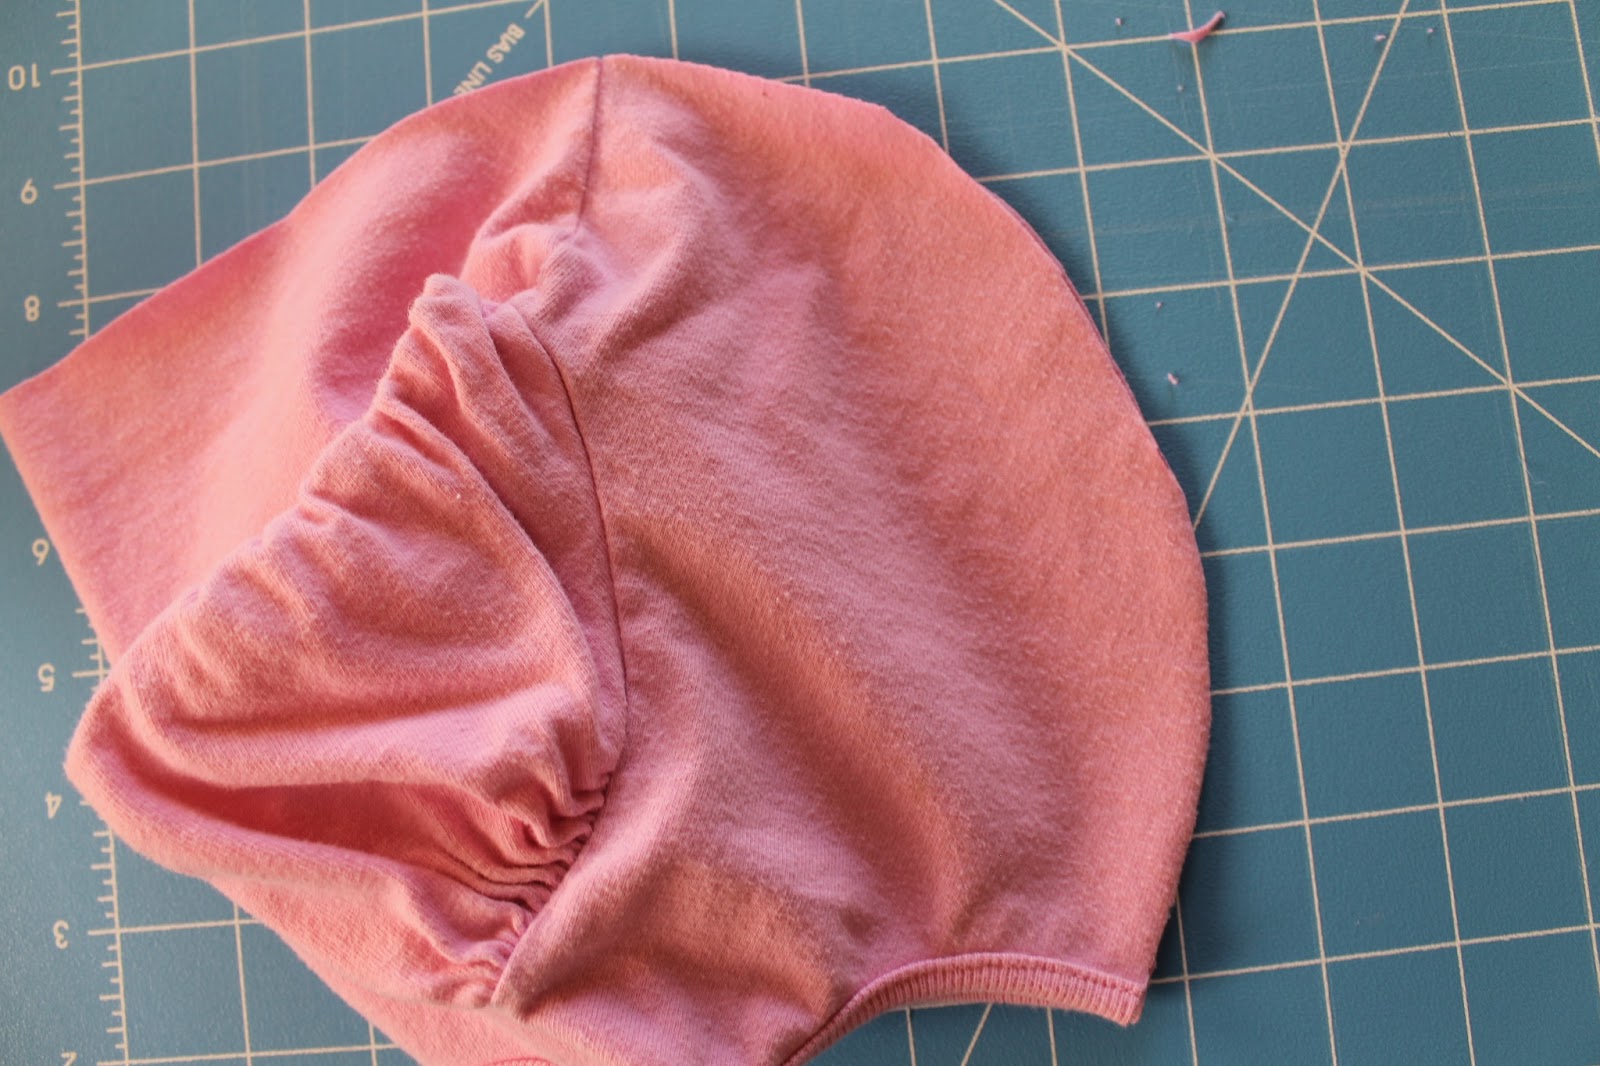
Start cutting your shirt straight down the crease to begin your "opening" to the bolero.

This is your option now, you can round your bolero sides or keep them square. I rounded my bolero to remove the printed designs.

From the beginning cut you previously made on the crease, cut what will be both front sides of the bolero all together, to make both sides of the bolero even. Like shown above.
Unfold and and lay "normally" and it should look like this.

Next, simply sew the raw edge over and make an easy hem to keep from fraying.

And there you have it! A simple, cute and FREE Bolero!

*If you want, you can add a button and ribbon or elastic to the top to secure the opening of the bolero. I did that on the black velvet bolero and it worked great.
Linking up here
I LOVE this!! We have so many t-shirts-turned-belly shirts, and I don't let my girls wear sleeveless dresses without a little shrug or a shirt underneath. So, this project=perfect! Thanks for sharing! :)
ReplyDeleteSaw this at Dessert Now, Dinner Later and had to take a closer look! This is adorable - what a great idea!!
ReplyDeleteKyra @ {caramelpotatoes.com}
this is so cute! what a great project!
ReplyDeleteThis is really darling. Just shared to my Twitter followers.
ReplyDeleteAw cutie pie she is looking adorable pinky love her t-shirt. I will surely do this for my princess:). great post.
ReplyDelete